Add a checklist to a job
A checklist is a short reminder of the work to check on a job. Use one for steps that are easy to miss, or to help a crew member follow the same checks each time. For example, an electrician might list testing the breaker, checking the labels and taking a panel photo.
Write items that fit this job. Your crew see the same list on every visit of the job. Ticks carry forward when someone comes back. Nothing makes a fresh list for the next visit. The customer never sees the list, notes or reasons.
Who can do it
Owners and full access partners. If you do not see Checklist on a job yet, it is not turned on for your business.
1. Type or paste the list
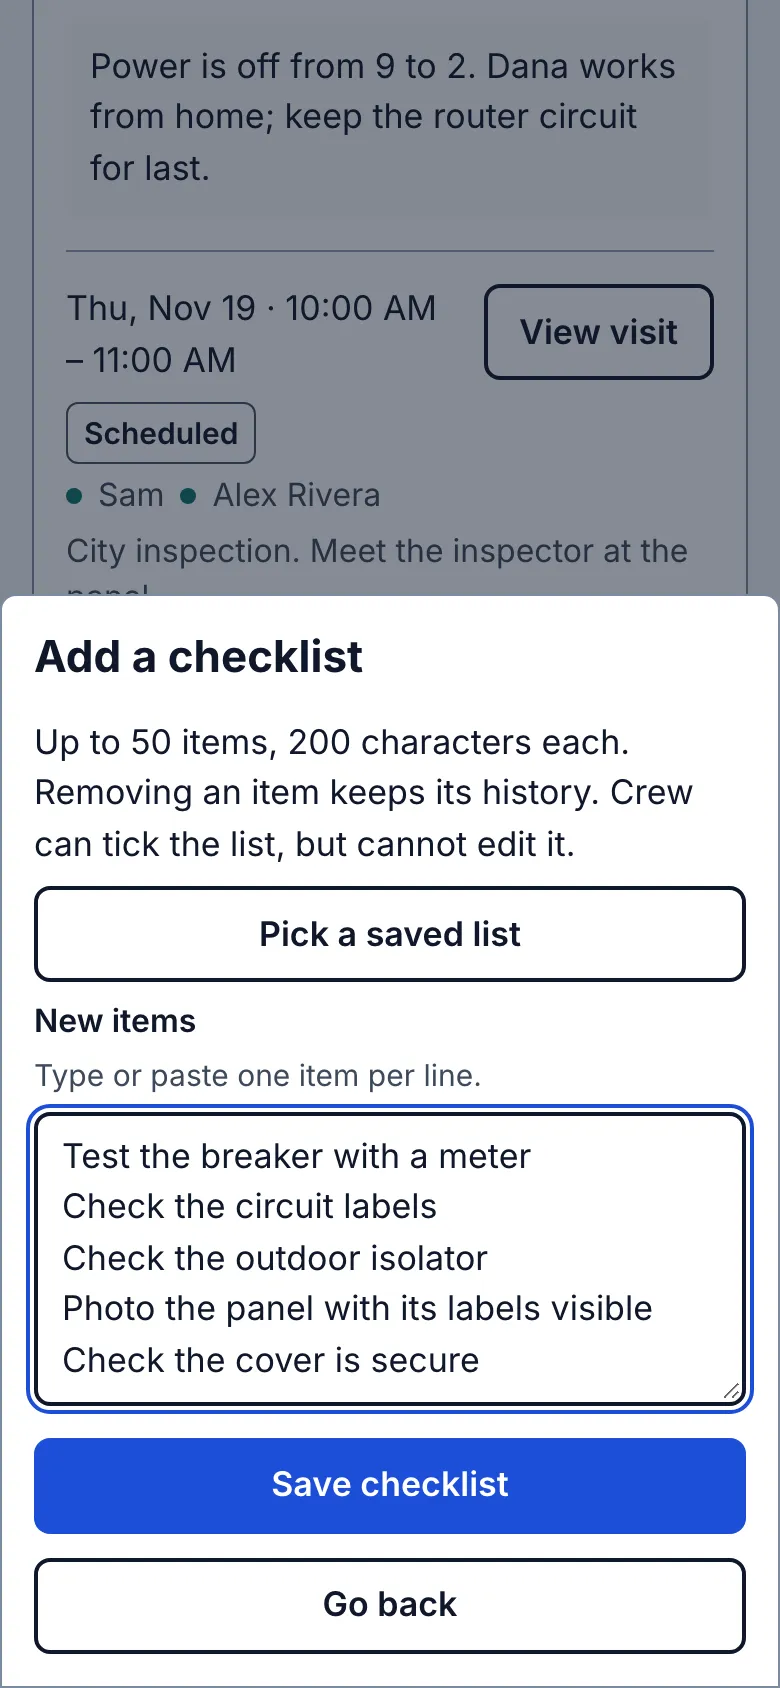
Open the job and go below Visits. Tap Add a checklist. In New items, type one item per line. Press Return to start the next item. You can also paste a list, with each item on its own line. Avoid adding bullet marks or numbers unless you want them to be part of the wording.
Read the items before you tap Save checklist. The list appears on the job. Every item starts open. You can add up to 50 items. Each item can contain up to 200 characters.
2. Start with a saved list instead
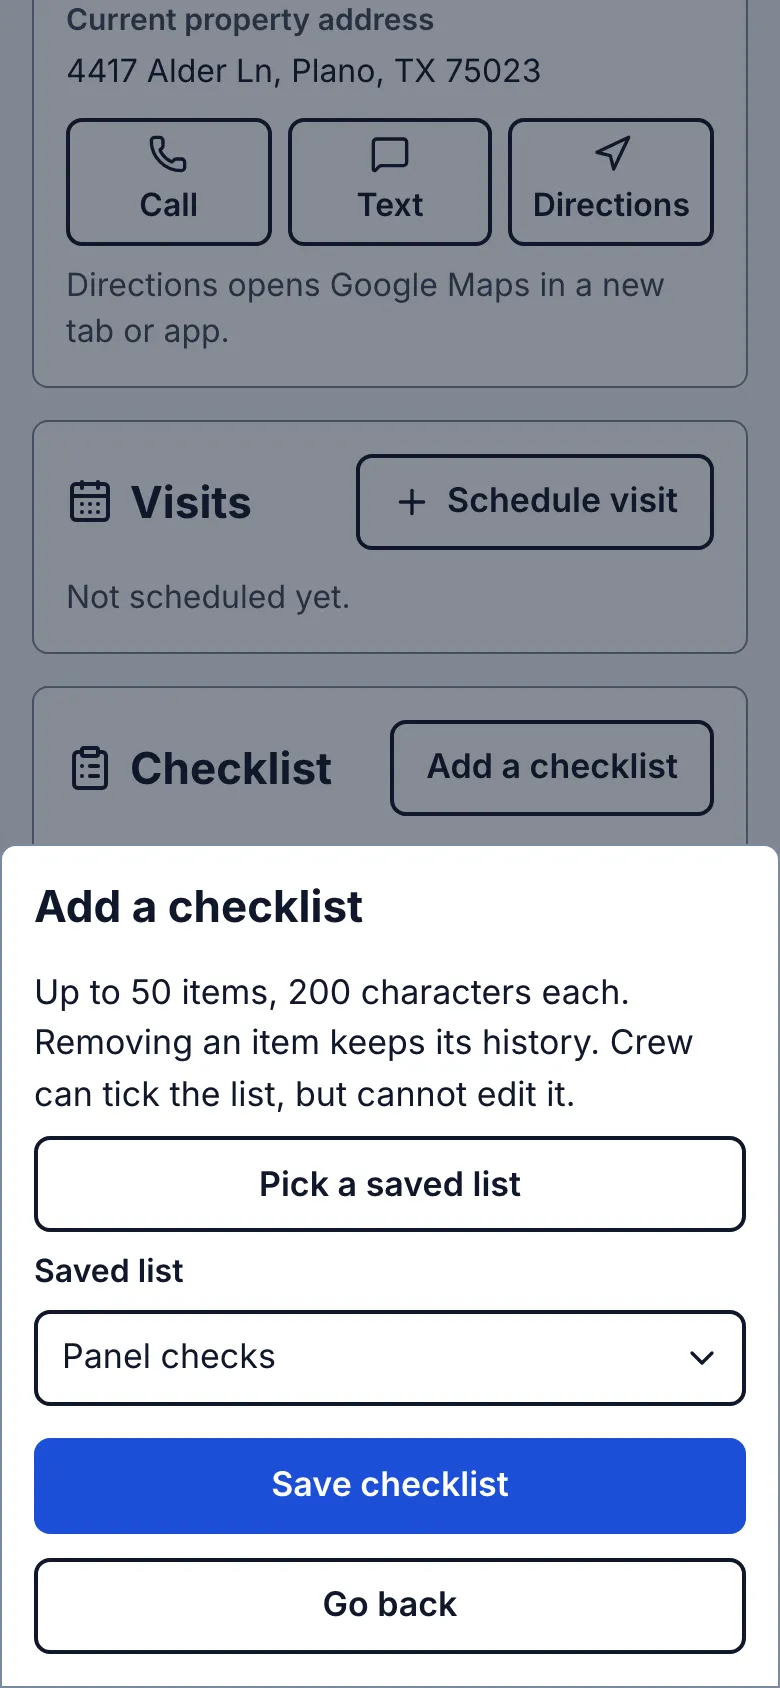
On a job without checklist items, tap Add a checklist, then Pick a saved list. Choose a name under Saved list. Tap Save checklist to put a copy on this job.
The copy starts with no ticks, notes or photos. It is not connected to the saved list. Changing either list later does not change the other. There is no automatic choice of list. Save and reuse checklists explains how to make one.
3. Change the wording
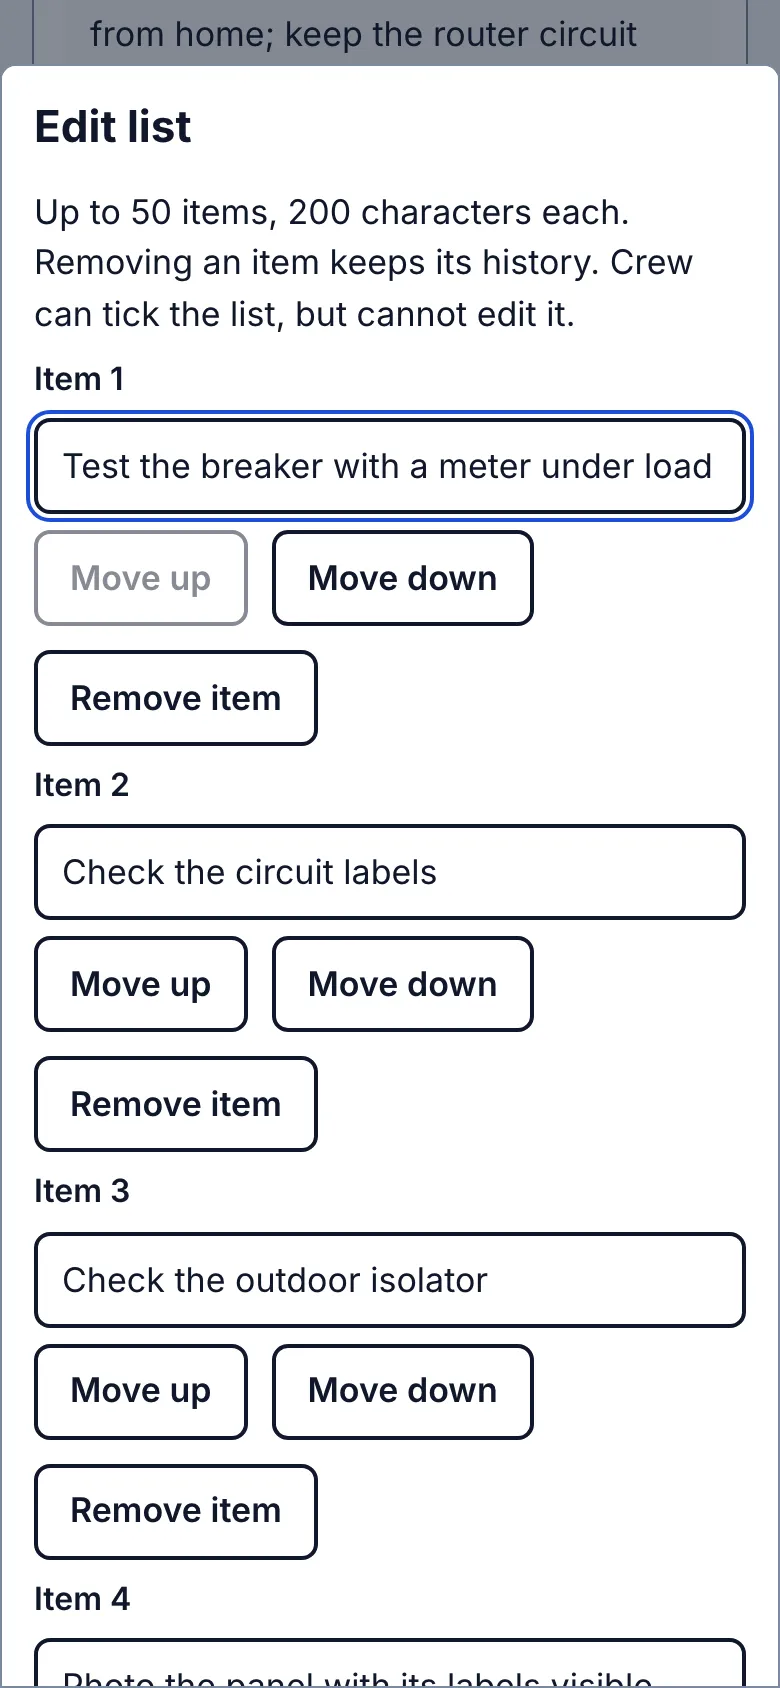
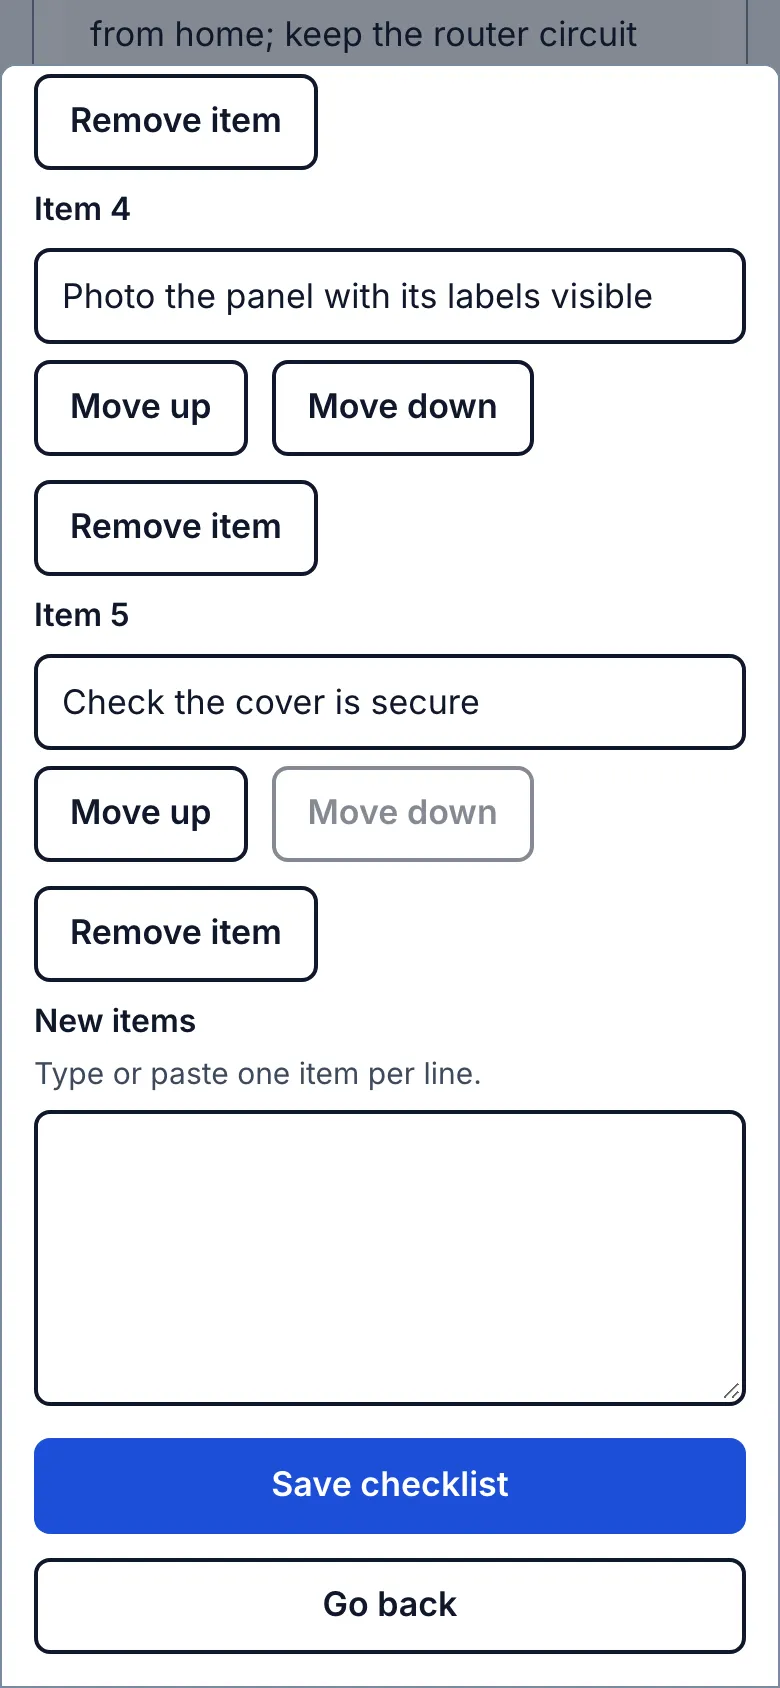
Tap Edit list. Each existing item has a numbered field, such as Item 1. Change the words, then tap Save checklist.
A tick stays when you change the words. The item also says Wording changed after it was ticked. This tells you that the earlier tick was made against different wording. Open the item’s History to read that earlier wording. Ask the person to check the revised instruction if needed.
4. Put the items in a useful order
Tap Edit list. Under an item, tap Move up or Move down. The item moves one place each time. The first item cannot move up, and the last cannot move down. Repeat until the order follows the work, then tap Save checklist.
Moving an item keeps its ticks, notes and photo. Put the most useful checks first so the crew do not have to search for them.
5. Remove an item that does not belong
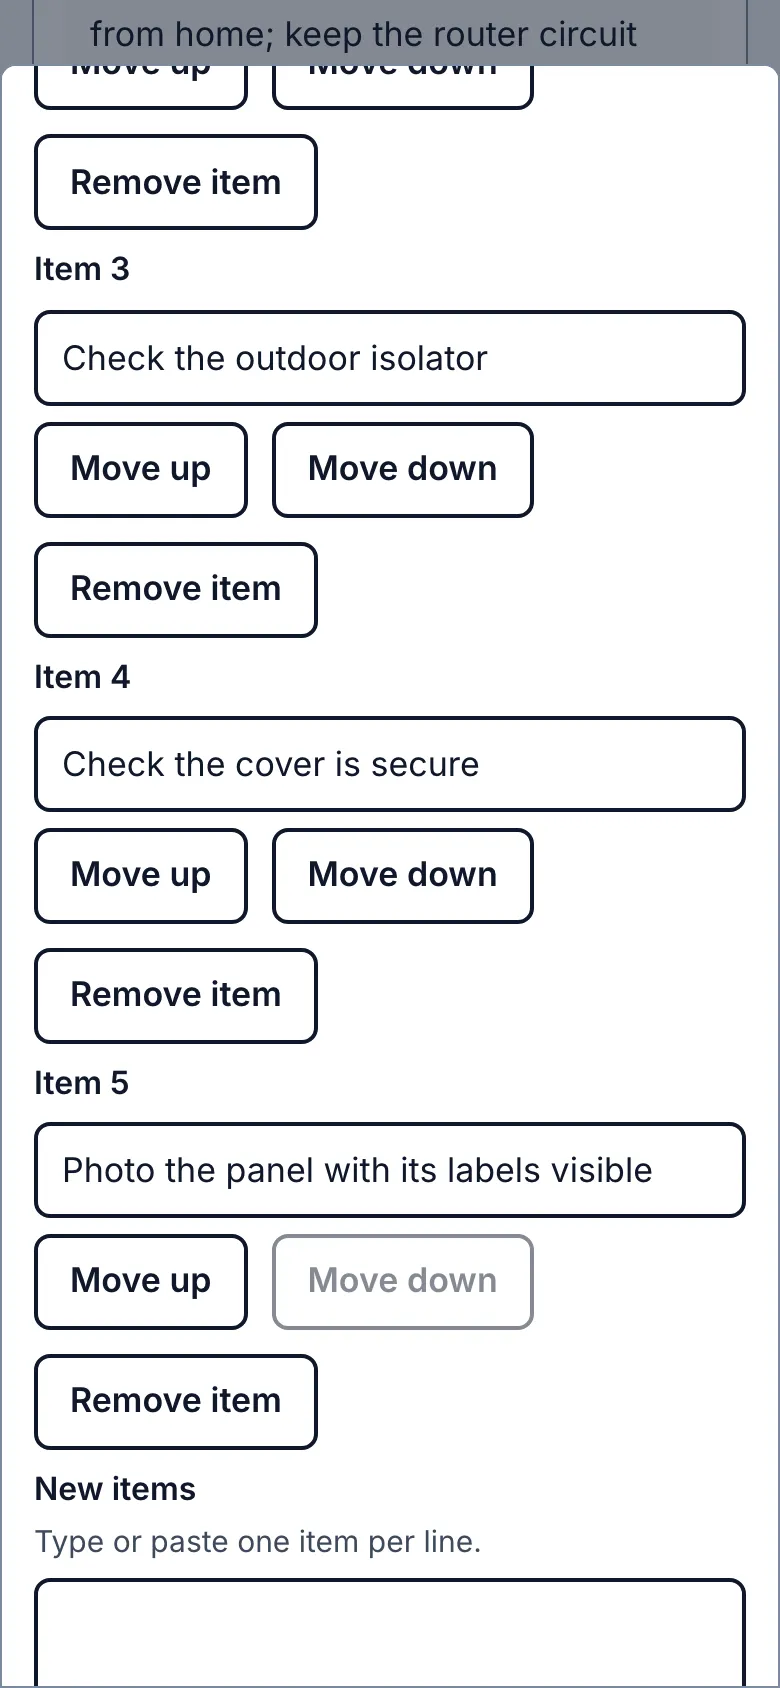
Tap Edit list, then Remove item under the unwanted item. Check the remaining list before tapping Save checklist. Until you save, Go back leaves the job’s list unchanged.
After saving, the removed item no longer appears or counts towards the total. Its earlier history is kept. It cannot be restored as the same item. If you need that check again, add it as a new line in New items. The new item starts open.
What you see after
The Checklist section shows how many items are Done or marked Doesn't apply, out of the number on the list. You and your crew can record checks on the job’s visits. See what your crew did explains the names, times, notes, photos and History.
Limits
Only owners and full access partners can add, edit or remove the list. Crew can tick items and add reasons, notes and photos. They cannot change the instructions. The list belongs to the job and is never shown to the customer. Nothing on it blocks starting or completing a visit, closing a job, invoicing or payment. A canceled job or a business that is read-only cannot change it.
When it goes wrong
If a save is not confirmed, keep the editor open. Read the message and use Retry when offered. Do not close the page while you still need the unsaved words. If someone else edited the list, open it again and check their changes before saving yours.
Still stuck? Email support@getstraightedge.com